One feature I’m looking forward to bringing to Pretty Good is highlighting non-traditional cuts of meat that can be prepared in delicious ways. As food options have become so plentiful and accessible — anyone in a city with $40 of space on their credit card can have a decent steak delivered straight to their door — it can be easy to forget that every animal that dies to feed us provides a bounty of less marketable, edible options. Historically, these were the cuts of meat left to poor communities all around the world. Their ingenuity in turning them into something delicious is the foundation of many cultures’ culinary contributions.
Brisket used to be such a cut.
But the rise in popularity of American BBQ has thrown it into the spotlight. That’s good for accessibility, but bad for cost. The average retail price of brisket per pound has tripled since 2018, from just under $3 to nearly $9. At fancier butchers, it can run much higher than even that.
I didn’t grow up smoking meats, but was intrigued by the idea as I ventured further into cooking. There is a natural divide in the food world between cooks and bakers. Right-brained folks might lean more toward cooking, estimating when a piece of meat is ready to flip by the color or texture, whisking just enough cornstarch to thicken a gravy, or eyeballing the shade of green shocked into some vegetables as they’re being blanched. Baking is far more precise, requiring exact measurements and processes, generally strong suits of an entirely different type of person.
Smoking meat — especially one as notorious as brisket — falls somewhere in between.
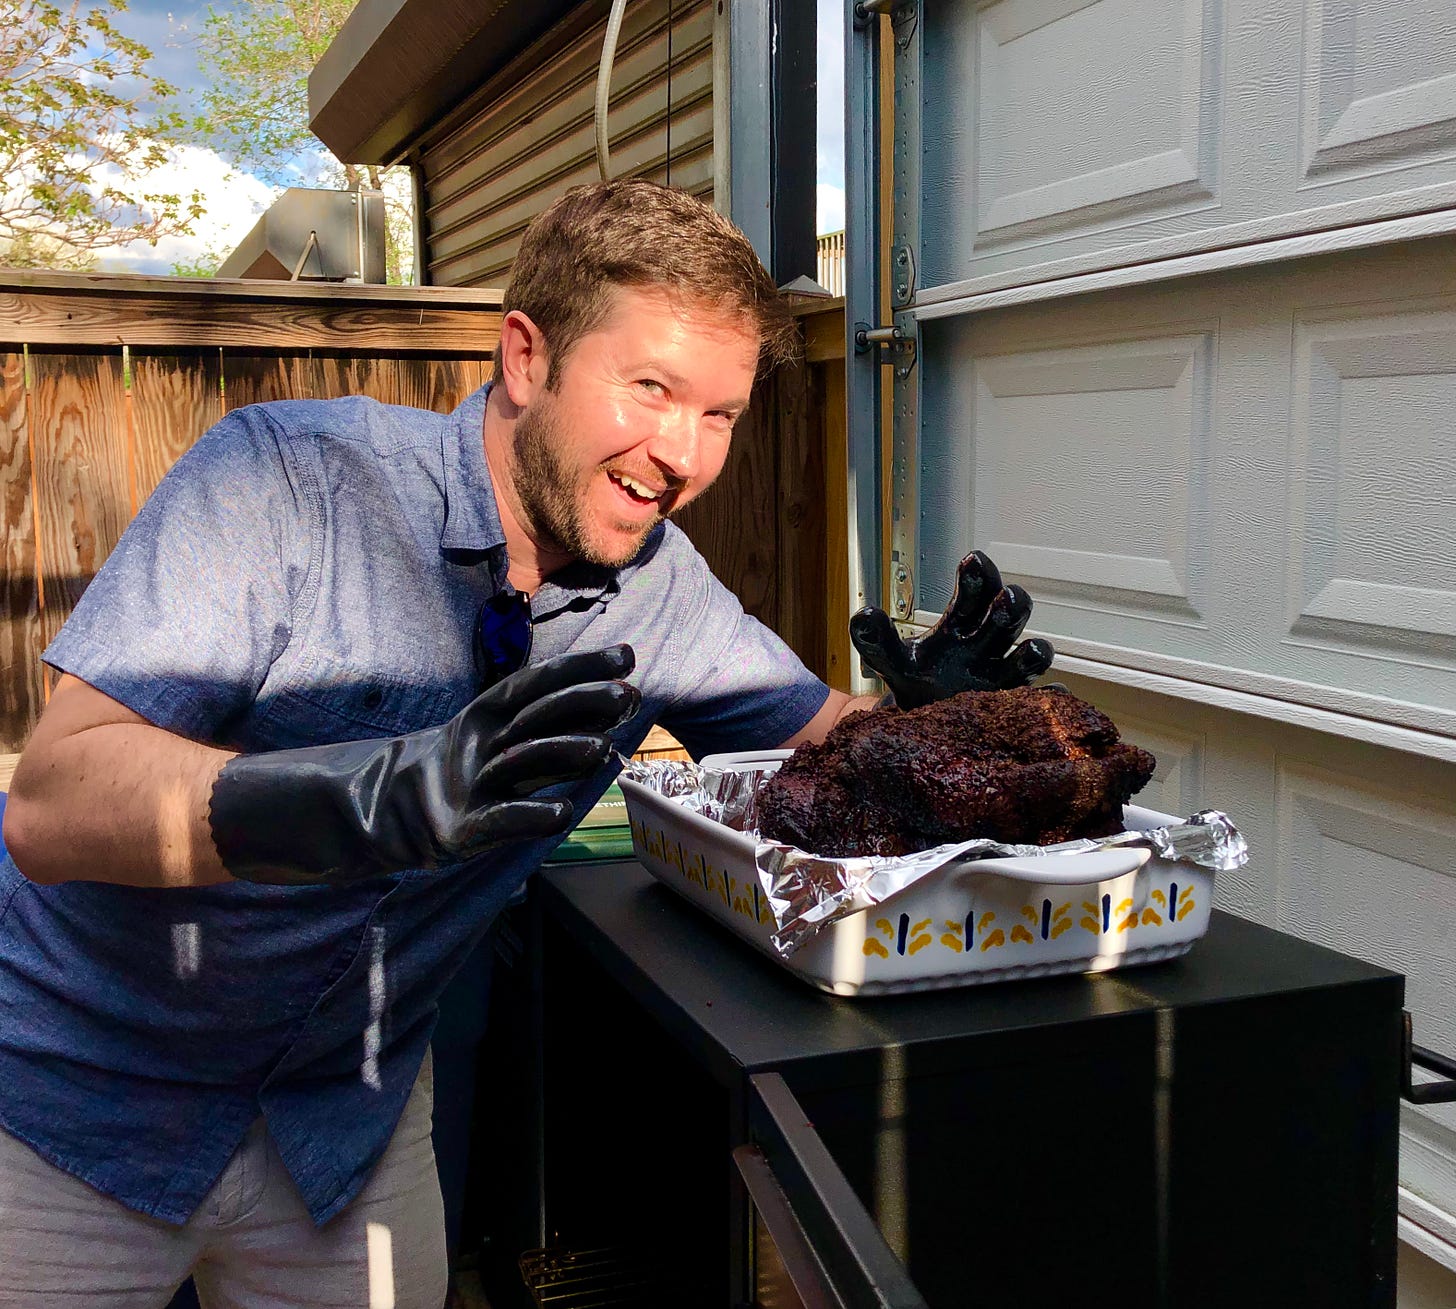
I didn’t tackle my first brisket until April of 2019, a few months after my wife bought me a stand-up, dual fuel smoker. I had spent that time researching various methods, preparations, and potential problems to try to best equip myself for the first attempt. The result was not pretty good.
It was killer.
I have been able to, largely, recapture the success of this first attempt in nearly all of my subsequent smokes. The only times I’ve not achieved what I expected were the one time I accidentally allowed my drip pan to dry out and the temperature spiked…and last weekend.
When I arrived at my local butcher last Friday, two days before the Super Bowl, I was pleasantly surprised to find they had plenty of briskets in stock. It hit me immediately why that was, though — everyone wants wings for the Super Bowl. The estimate grows each year, hitting 1.45 billion (!) in 2023.
Wings can be great. I made some of my own (thankfully…as you’ll see shortly) from a frozen stash I had. But 1.45 billion wings means 725 million chickens, which have many other useful parts. I talked last week about factory farming issues when it comes to eggs — the same applies with our mass produced meat supply. I say all this to say: If you can get a nice cut from a place like your local butcher, wonderful, but it is going to be pricey. If not, Costco sells prime briskets, which I’ve been able to get for as low as $3.69/pound, and which were running around $5/pound the last time I was there.
As it was just the two of us on Super Bowl Sunday, I did something I never do, and asked for a small cut from the butcher. I ended up with about a 4.5-pound point, which I paid handsomely for, but one I figured wouldn’t take me all that long to cook.
I figured…poorly.
The plan was to put the meat on by 11 a.m., figuring that at an hour-per-pound, it would be done and rested well ahead of the 6:30 p.m. kick-off. I didn’t end up getting the meat on until about 12:45 p.m., but thought at the very worst we’d be able to eat by halftime.
For whatever confluence of reasons, this cook absolutely crawled. Thankfully, I had the aforementioned wings and we made some mac and cheese, because this thing did not finish on Super Bowl Sunday…at all. It finally hit its temp right after midnight. We’ve been reheating and eating for other meals this week. I suppose these things happen.
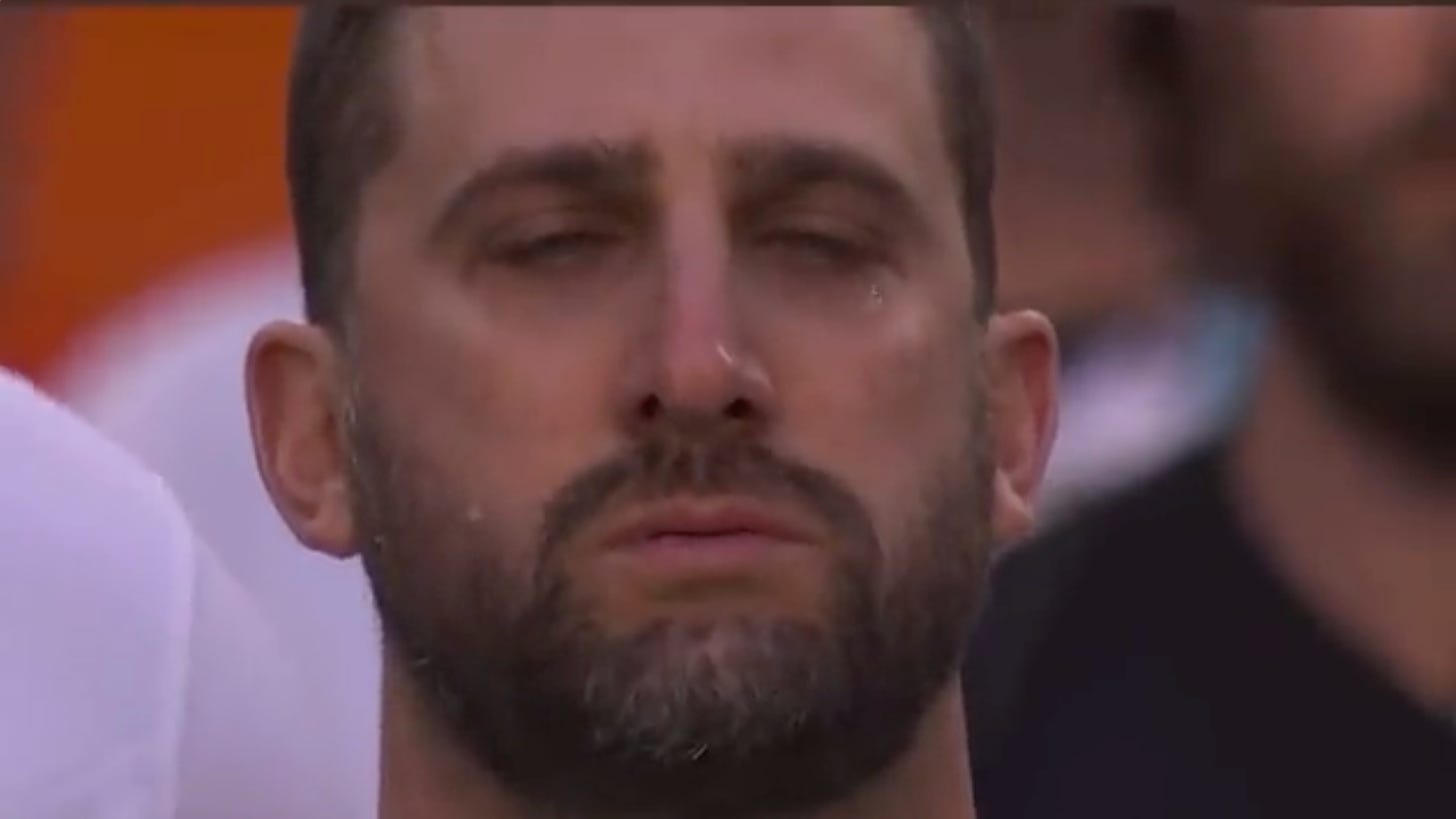
As I (like Nick Sirianni) stewed in my failure Sunday night, I remembered back to that first brisket and thought about why it was so successful. Certainly there was some measure of chance. But mostly, it came down to care and attention to detail. I ignored the fact that I’d never done this before, and treated it like something I should be able to do in the half-awake state I am often reduced to in the early morning hours during which a brisket smoke often begins. The good news is, that has made me even more determined to make sure I give you everything you need to be successful in your own venture.
Despite what meat evangelists on the internet will tell you, there is no one correct way to smoke a brisket. I am not here to proclaim my methods as the best, or as better than anyone else’s. I’m telling you what I do because it works, it is easy enough to do yourself — so long as you’re willing to put in that time and care — and it produces consistently great results, if done properly.
Brisket
You will need a brisket. There are other meats that are great for smoking. We are not talking about those today. Get thee a brisket.
A brisket is actually two different pieces of muscle, which are connected by a layer of fat. These are called the point and the flat. The point is the rounder, thicker side of the cut, with the flat being the long end that tapers into a corner. You can get a butcher to cut you one or the other, or you can take on the challenge of smoking an entire packer brisket, meaning both, still connected. If you go the latter route, make sure you have a vessel large enough to manage that.
Smoker
Whether you have a gas, electric, or charcoal smoker, you need to be able to deliver both smoke and indirect heat to your brisket over a long cook. I have used both gas and charcoal smokers before and I honestly prefer the former, as it’s far easier to manage temperature control.
This route, of course, requires propane. Be sure to equip yourself on a day prior to your cook, as you’ll likely have to be up before the hardware stores open, and because there have been sporadic propane shortages since the pandemic. If you go the charcoal route, you’ll have to prepare your coals the same way you would for a grill, so just factor that prep time in.
Trim
You will need to trim your brisket. This will, especially at today’s prices, feel like you are wasting money. But you will almost certainly have too much fat on the top of your brisket, as well as some silverskin on the bottom (especially if you get a whole packer cut).
You should leave about a quarter-inch layer of fat on top of the brisket, which will slowly melt as it cooks, keeping the cut juicy. Cut away any edges that have grayed or browned due to oxidation, as well as any stringy bits around the edges. You’ll probably want to cut the very edge of the flat off as well, as it will finish cooking far ahead of the rest of the brisket, leaving you with a burnt hockey puck of meat that you won’t want to eat. You may have to cut a bit of the extra fat out of the connection between the point and flat. The good news — the extra fat that you cut can be rendered out over very low heat in a small saucepan and saved for any number of uses. (Like coating your chicken wings before you season and cook them. Yes.)
Seasoning
There are any number of ways you can season a brisket. Recently, the Texas BBQ world has been scandalized by the revelation that Aaron Franklin of the world-famous Franklin Barbecue may actually have been using Lawry’s Seasoned Salt, and not simply salt and pepper for his rubs. Some people will swear by Lawry’s. That’s fine. I use only salt and pepper. If you really want the natural flavor of good beef to shine through, this is my recommendation.
You also don’t want to overseason. Brisket can take a lot of seasoning, but you don’t want a full crust on the outside of your meat. That is not what builds your bark, and it will leave you with a far-too-salty final product. A medium dusting of sea salt and butcher grind black pepper is your best bet. Once you’ve trimmed the brisket, apply your seasoning, and allow the meat to continue to come up to room temperature, an hour or more total since removing from the fridge.
Wood
This is where some of the smokeboys reading this will get the vapors and need to go lie on their fainting couches. Traditional Texas brisket is often smoked over a very heavy wood, like post oak or mesquite. The problem with these woods is that exposing meat to them for a 12-hour smoke often overpowers the natural flavor of the beef. Often, this requires wrapping the brisket at some point in the process to keep it cooking but stop the direct contact with the smoke. None of this appeals to me, from either a process or results standpoint.
I prefer a much milder wood, one that imports a delightfully savory, nutty flavor, and that has become my go-to for nearly any smoked meat project: pecan wood.
It delivers all the qualities you’re looking for from some of those heavier varieties, but without that overly ashen taste that can sometimes accompany them. And, as long as you maintain a humid environment, you won’t overdo it by leaving your meat unwrapped.
I prefer wood chips, which are easy to manage, and only require about a half-hour of soaking in water before use. If you use chunks or pellets, just be sure to follow the best practices for preparation before you go tossing them atop a fire.
Environment
To keep your brisket tender and juicy while building bark around the outside, you need to maintain a humid environment in your smoker. The first key component to this is your water tray. It sits above your heat source, moderating the temperature and redirecting the heat so that it hits the roast indirectly. Some people like to put beer or vinegar in this tray, rather than water. By most accounts, that’s a waste of beer/vinegar, as the only real aid you’re getting here is evaporation. Save your flavor for the other humidifier.
A key to a brisket is to spray your meat, roughly every hour. I’ve heard of everything from cider vinegar and apple juice to straight up melted butter as an option here. But again, I’ve long followed the Franklin method, one that I think does the job extremely well, providing the added flavor I’m looking for along the way and allowing me to not have to over-season my meat in the first place — half Worcerstershire sauce, half water. If you’ve gone the salt-and-pepper-only method, this complements the flavor very well.
Temperature
Again, there is plenty of variance here about preferred or “ideal” temperature. I view this as more of a zone to make sure you stay in than a static temperature that you MUST hold the entire cook. Your floor shouldn’t be any lower than 225°F, with your ceiling at 250°F. I generally like to try to level my smoker out just under the high end, somewhere above 240°F.
If something happens (your water dries out and the temp spikes; your flame goes out and the temp plummets) don’t freak out — just return the temperature to your range as quickly as you can, make sure the cook environment is still maintained, and carry on. Briskets are pretty stable.
Time
This is the great variance. Some guides will tell you a brisket takes 30-60 minutes per pound. Some will say an hour and a quarter to an hour and a half. In my experience, it’s just not that simple. Points supposedly cook more quickly than flats, due to their higher fat content, though flats are often much thinner, and don’t require as much time for heat to penetrate to the center (and have always cooked more quickly for me). Plus, that dumb point I cooked last weekend took 12 hours for a 4.5-pounder.
The key is to just leave yourself as much buffer as you can on the back end. You will need a minimum of one hour for your brisket to rest after cooking.
The cook
Once all your elements are set, the smoke becomes a matter of maintenance. Maintain temperature and humidity by ensuring your water tray doesn’t run dry and you’re spraying your brisket. Maintain smoke by feeding wood chips into your tray. Flip your brisket around every two hours to ensure even cooking. Some people turn theirs upside down, though I prefer to leave mine with the fat cap up.
I generally wait until the six-hour turn to put my meat thermometer into the brisket. You’ll want to find the middle of the roast and make sure it’s pushed all the way in. I’ve used plenty of old school, analog thermometers over the years, but I appreciate the ease of the digital one I now have (I’m only using the Amazon link because it’s on sale), as it feeds the exact temperature to an app on my phone, allowing me to monitor without having to open the smoker every time I want a readout.
(I forgot to mention this in the original post, but the amount of time all comes down to reaching the correct temperature. This is, from the thickest part of the brisket, anywhere from about 195-205°F. Everyone has their own perfect number, but I generally shoot for right about 202°F.)
The rest
When you’ve hit your desired temperature, carefully remove your brisket from the smoker and lay it on top of a double sheet of aluminum foil. Wrap it the brisket tightly and set it aside for at least an hour to rest. If you cut into the meat before then, all those juices that you’ve spent all day coaxing out of the meat will spill out all over your cutting board and you’ll have disappointed yourself, your guests, and whatever higher power you believe in (and also Aaron Franklin, assuming he isn’t that higher power). You will wait. You must wait.
The good news is, a brisket can continue to rest for several hours, if need be. Just sock it into your oven or microwave and let it hang out. The bark may not be nearly as crisp, but it will stay juicy.
The cut
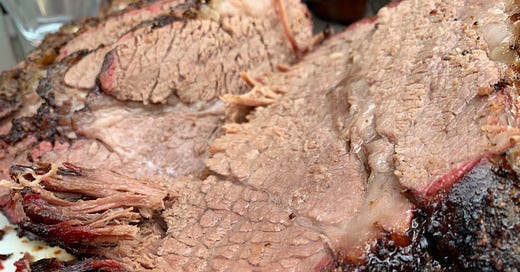
When it is finally time, unwrap your brisket and lay it on a cutting board. Find the edge and cut a small piece off, with a vertical stroke, along a bias. Does the meat look like that classic, crumbly, juicy brisket, or does it look kind of stringy? If it’s the latter, you’re cutting perpendicular to the angle you need. Start over on the other edge of the flat (or the edge of the point, if that’s all you smoked) and try again. Ah, yes, there it is.
If you’re cutting the flat, do so in slabs until you reach the connection to the point. Here, you’ll rotate the brisket 90 degrees and cut straight down the middle of the point. Return the brisket to its original position and continue to cut slightly thicker slices. This part is also great cubed up for sandwiches or tacos.
Whatever you aren’t going to eat right away, don’t slice. Leave as intact as possible to use for leftovers. Because it is both salted and smoked, brisket keeps very well. The USDA recommends up to four days in the fridge, though we often stretch that. And it can keep in the freezer much longer, and be reheated in your oven (wrapped in foil) whenever you’re ready to bring it back out.
Did I cover everything? Let me know in the comments if you’ve still got questions, or if you’ve got any additional tips for everyone else out there. I’ll also be sharing some of my favorite sides when we get a little closer to summer. Happy smoking!


